
People show off their talent and style through nail art, which has become a popular way to express oneself. But to keep those detailed designs looking good, you need to take good care of your nail art tools. It is important to clean your brushes after every use to make sure they last a long time and give you perfect results. If you need clarification about how to clean nail art brushes after use, then don’t worry at all about it because We’ll discuss 7 easy and simple steps guide on how to clean nail art brushes after use.
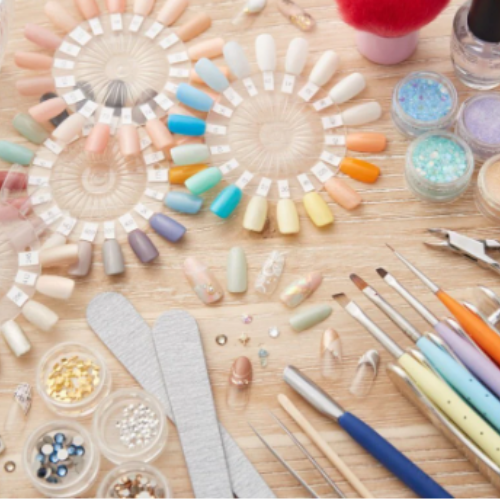
Materials Needed:
- Acetone or nail polish remover
- Gentle hand soap
- Cotton pads or paper towels
- Small bowl or container
- Tweezers (optional)
Step 1: Immediate Action:
It would help if you took fast action as soon as you complete your masterpiece of nail painting. The longer the nail polish is allowed to sit on the brush, the more difficult it is to remove it afterwards. To remove any extra polish off the brush, use a piece of tissue or paper towel and gently wipe it.
Step 2: Prepare Your Cleaning :
Choose a place to clean that has good airflow and lighting. Get together everything you’ll need, like nail paint remover or acetone, hand soap, cotton pads or paper towels, and a small bowl or container. If you use acetone to clean, make sure there is enough airflow so you don’t breathe in the fumes.
Step 3: Soak in Acetone or Nail Polish Remover :
Put a little acetone or nail paint stripper in a bowl or other container. Put the brush in the solution so that all of the bristles are covered. Swirl the brush slowly to break up any nail paint that is still on it. Soaking the brush for a few minutes will make it easier to get rid of shiny dust that won’t come off.
Step 4: Gentle Cleansing:
Once the brush is dry, take it out of the acetone and wipe it clean with a paper towel or tissue. This step gets rid of the broken-down shine and any leftover glue. Be careful not to hurt the soft bristles, especially if your brush has small details.
Step 5:Wash with Gentle Soap:
To please get rid of any acetone or polish remover that is still on the brush and wash it with light hand soap. Put a little soap foam on your hand and wet the brush. Gentle clean and rinse the brush with cold water until there is no more soap on it. This step gently cleans the brush all the way through so it’s ready for the next use.
Step 6: Shape the Bristles:
To return the brush bristles to their natural shape, use your fingers. If the bristles on your brush have fine detailing, you may gently shape each one with tweezers.
Step 7: Air Dry:
Please make sure the bristles of the clean brush hang easily when you put it on a flat surface. Let the brush dry completely in the air before putting it away. It’s best not to use heat sources like hair dryers because too much heat can damage the brushes. If you wait patiently while the brush dries, it will stay in great shape for future use.
Conclusion:
If you do these easy things, your nail art brushes will stay in great shape and be ready for your next artistic project. Cleaning your brushes often not only makes them last longer but also makes sure that your nail art stays precise and stylish.
How do I clean nail art brushes with gel polish?
A: Brushes used with gel paint might need a little more work to clean them. First, wipe off any extra gel polish. Then, clean the brush well with rubbing alcohol or a gel cleaner. After that, wash your hands with mild soap.
What should I do if the brush bristles become frayed?
A: If your brush bristles get ragged, it could mean that it’s worn out or that you need to clean it right. To keep this from happening, clean gently, adjust the tips, and think about buying high-quality brushes that will last longer.
How often should I clean my nail art brushes?
A: It’s best to clean your nail art tools every time you use them. Cleaning it often helps keep the brush in good shape and makes sure that your next nail art project goes perfectly.
What should I do if the brush bristles become frayed?
A: your brush bristles get ragged, it could mean that it’s worn out or that you need to clean it right. To keep this from happening, clean gently, adjust the tips, and think about buying high-quality brushes that will last longer.