Introduction:
Chromebooks are known for being simple and easy to use. Getting rid of photos and files to make room or organize storage is something that many people need to do. This article will show you how to delete images on a Chromebook. We can help you whether you’re new to Chrome OS or just want to brush up on what you already know.
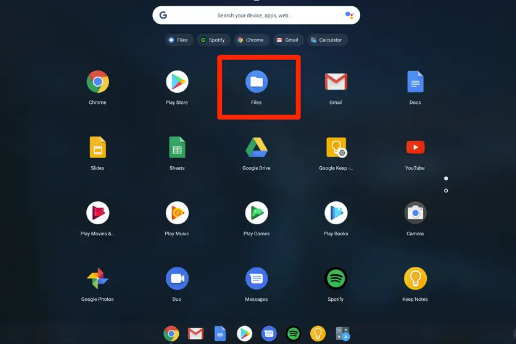
Step 1: Access the Files App
To start, open the Files app on your Chromebook. This app can help you keep track of the files and pictures on your computer. It’s in the app menu or on the shelf. It looks like a box most of the time.
Step 2: Locate the Image
- After you have opened the Files app, you will need to find the image that you wish to remove from your device before proceeding.
- All of your files, such as pictures, documents, and downloads, will be located in this section of your computer.
Step 3: Select the Image
- Please tap on the picture you wish to get rid of to pick it out. If your Chromebook has a keyboard or touchscreen, you can also use those to tap on the picture.
Step 4: Delete the Image
- There are several ways to remove a picture that has been chosen:
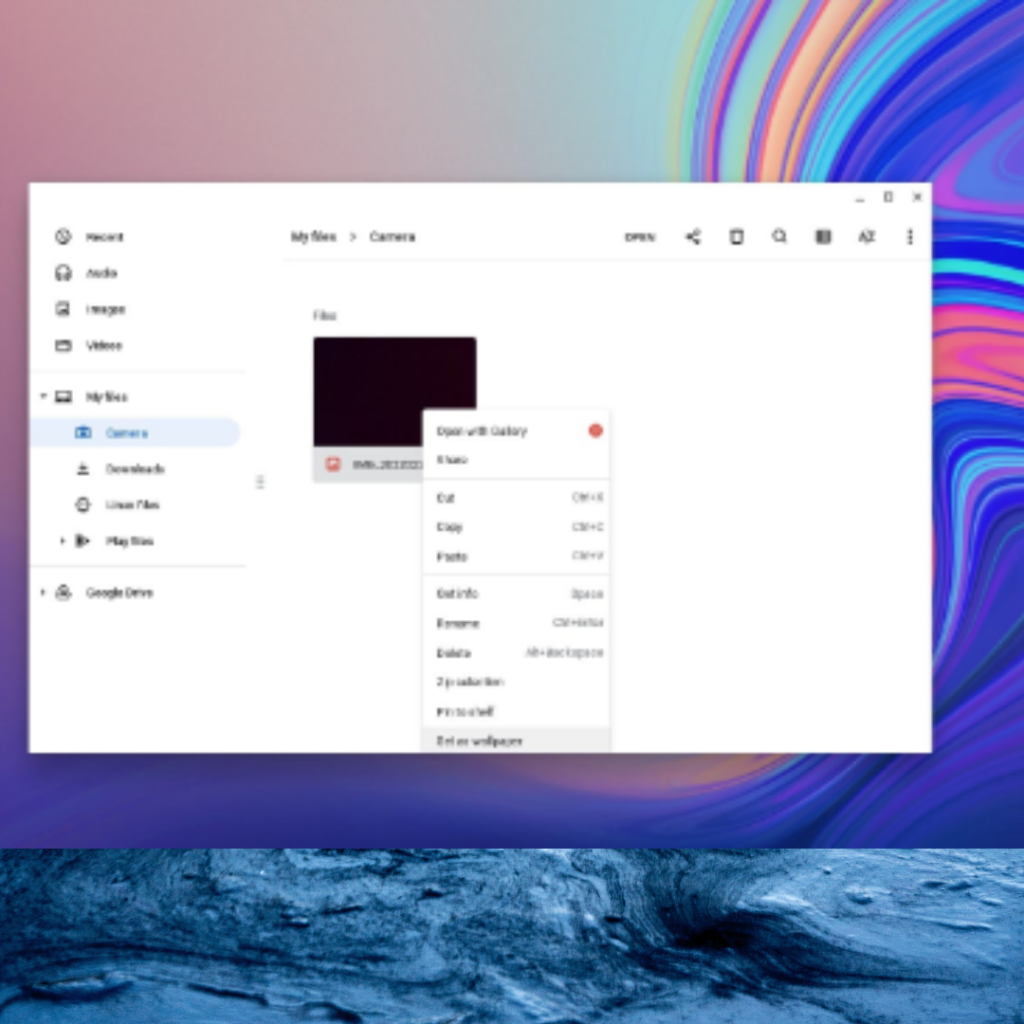
Method 1: Right-click and Delete
- Right-click on the picture you want to use.
- A choice will show up in the environment.
- Press the “Delete” button in the menu.
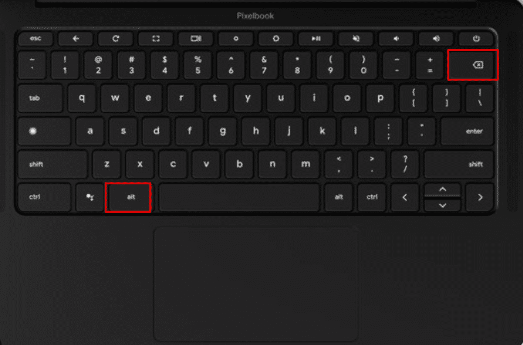
Method 2: Use the Keyboard Shortcut
- Select the image.
- Press the “Alt” key along with the “Backspace” key (or the “Delete” key on some Chromebooks).
- This will trigger the delete action.
Method 3: Drag to the Trash
- Select the image.
- It’s in the “Trash” folder on the left side of the Files app. Just drag and drop it there.
Step 5: Empty the Trash (Optional)
- In the Files app, when you delete a picture, it goes to the “Trash” folder. It would help if you emptied the Trash to make room for more things. That’s possible:
- In the Files app, click on the “Trash” folder.
- Pick out the pictures you want to get rid of for good.
- Pick some images, then right-click on them and pick “Delete Forever.”
- In the pop-up box, confirm what you want to do.
Step 6: Confirm Deletion
- When you delete a picture, Chrome OS usually asks you to agree. This is true whether you delete the image directly or from the “Trash” folder. This is to stop removals by mistake.
- Click “Yes” or “Delete” in the dialogue box to confirm.
Conclusion:
Getting rid of pictures on a Chromebook is easy, and you can do it in several ways. The Chrome OS lets you choose how to interact with it, whether you like to right-click, use keyboard tools, or drag and drop.
Remember that when you remove a picture, it goes to the “Trash” folder first, so you can get it back if you need to. But don’t forget to empty the “Trash” occasionally to make room for more files.
Following this step-by-step guide will help you keep your Chromebook clean and make the most of your storage space. Getting rid of old files and photos is an essential part of managing your device, and you now know how to do it quickly. Have fun with your Chromebook!
Can I recover images after deleting them on a Chromebook?
You can return lost pictures on a Chromebook, but only for a specific time. The concept goes to the “Trash” folder in the Files app when you delete it. Putting pictures in the Trash area takes time to delete them, so you can get them back if you need to. Chrome OS, on the other hand, empties the Trash automatically after a while, usually 30 days. That’s why it’s essential to return a deleted picture within that time frame. Enter the “Trash” folder, right-click on the image you want to get back, and choose the “Restore” option..
Can I delete images from my Chromebook that are saved in Google Drive?
Yes, you can use your Chromebook to delete photos saved in Google Drive. Using your Chromebook to delete a picture from Google Drive is a simple process. Find the image you want to delete in the “Google Drive” part of the Files app. Then, use the same steps we talked about earlier in the guide, like right-clicking and choosing “Delete.” If you delete the picture from Google Drive, it will be gone from all of your cloud files and devices that are linked to the same Google account. Make sure you want to delete the picture because if you empty the Google Drive trash, you might not be able to get it back.